Introduction
Welcome to Upzilla, your comprehensive solution for effective website and system monitoring. This document serves as your gateway to a wealth of information, ensuring you make the most of our monitoring platform.
Whether you’re a new user seeking guidance or an experienced one looking for specific details, we’ve got you covered. Explore our Frequently Asked Questions (FAQ) section for quick answers to common queries. Dive into our User Guides for in-depth tutorials and step-by-step instructions on utilizing Upzilla’s features.
Navigate through dedicated sections for various monitoring types, each offering insights and specifics tailored to your monitoring needs. From website monitoring to server, application, network, and performance monitoring, find detailed information to optimize your monitoring strategy.
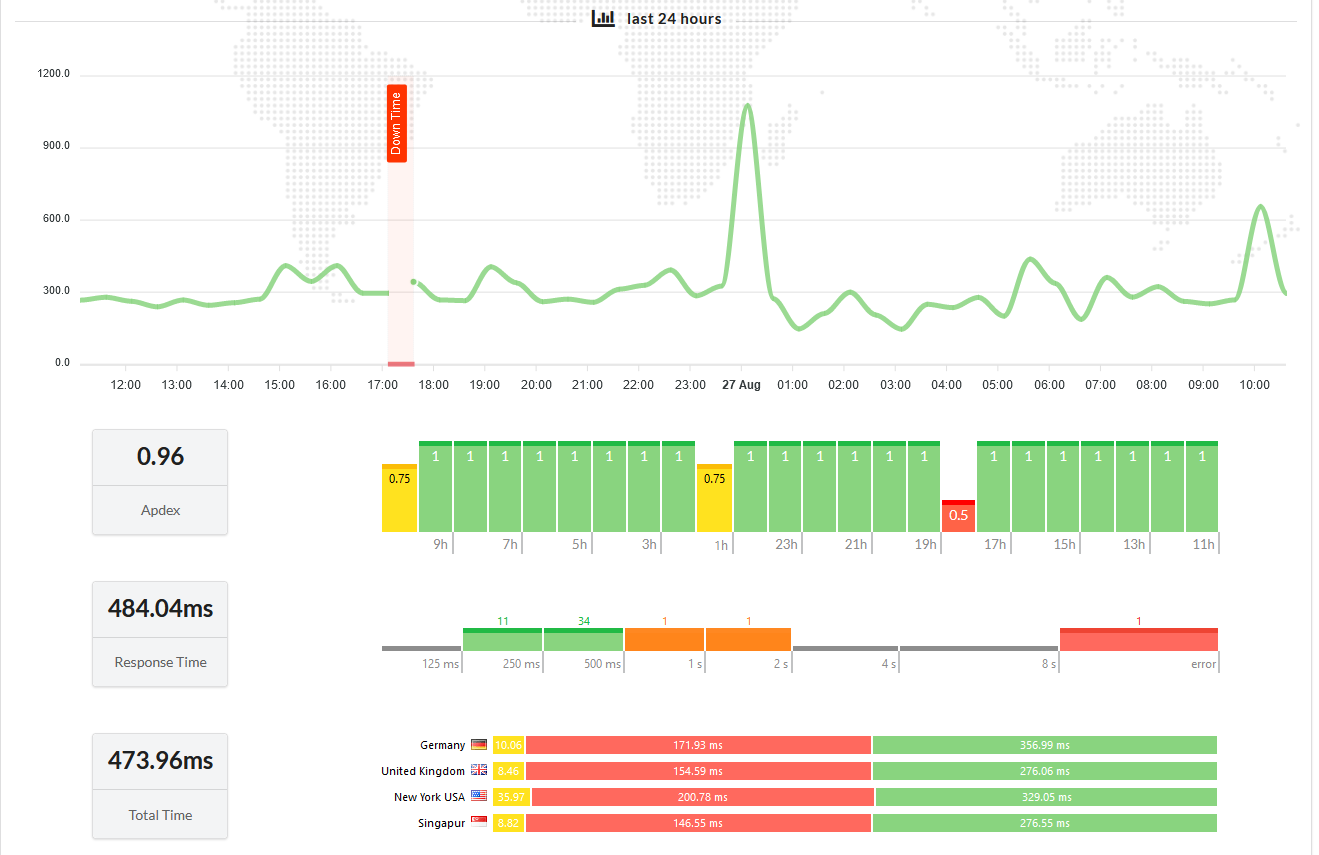
Empower yourself with the knowledge and resources available here, and make the most of your Upzilla experience. If you have any further questions, our support team is just a message away. Happy monitoring!
To get started on Upzilla, begin by registering a free account using your email, Facebook, Google, or GitHub credentials. Once registered, access the member area to explore the “Monitors” section. Within this section, initiate the monitor creation process by clicking the “Add New Monitor” button. The setup wizard will guide you through various monitor categories, allowing you to choose the type that aligns with your monitoring needs. Customize your monitor settings, such as the target URL and monitoring frequency, and finalize the setup. This streamlined process enables users to effortlessly register and create monitors tailored to their specific requirements, with the flexibility to choose from multiple registration methods.
By incorporating multiple registration options, users can choose a convenient method, whether it’s through email, Facebook, Google, or GitHub. This enhances accessibility and flexibility during the registration process on the Upzilla website monitor platform
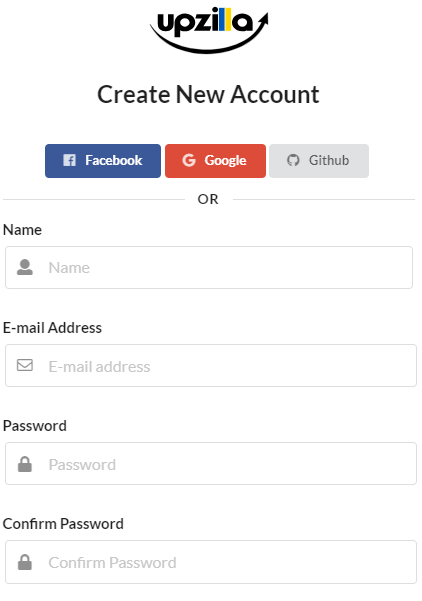
Start by signing up for a free account on the Upzilla website monitor platform. You can register using your email, Facebook, Google, or GitHub account. Choose the preferred option and provide the necessary information to create your account.
After successfully registering, log in to your account. Navigate to the member place, where you manage your monitoring setups. Locate the “Monitors” section.
Inside the Monitors section, find and click on the “Add New Monitor” button. This action will initiate the setup wizard for creating a new monitor.
Within the setup wizard, you’ll encounter different monitor categories. Choose from options like website monitoring, server monitoring, application monitoring, network monitoring, performance monitoring, and custom monitoring.
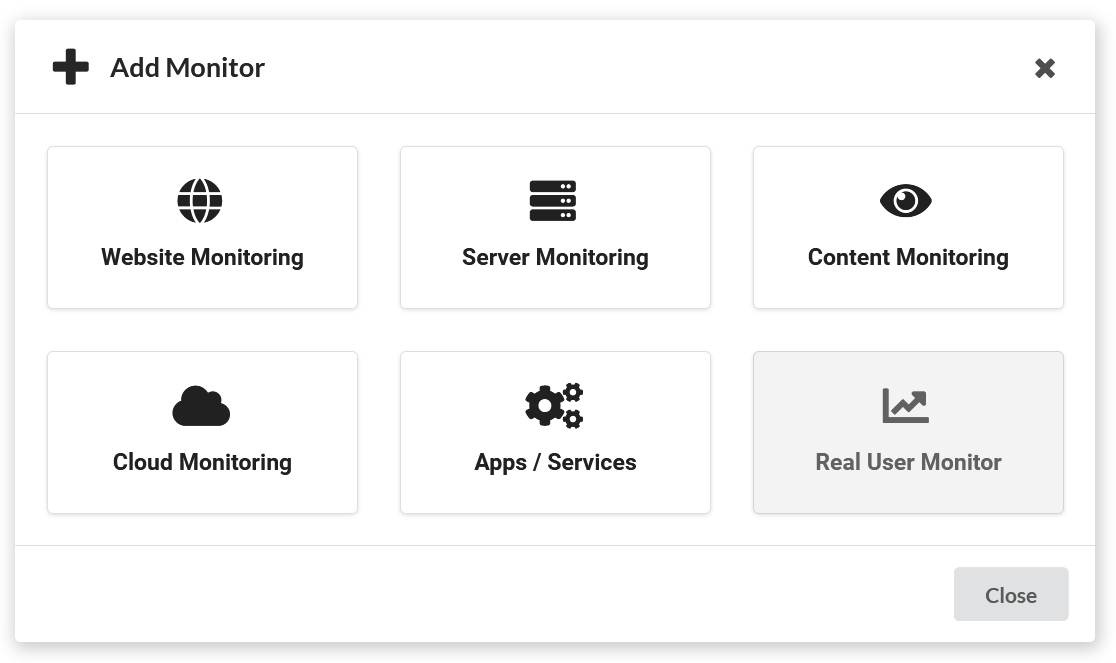
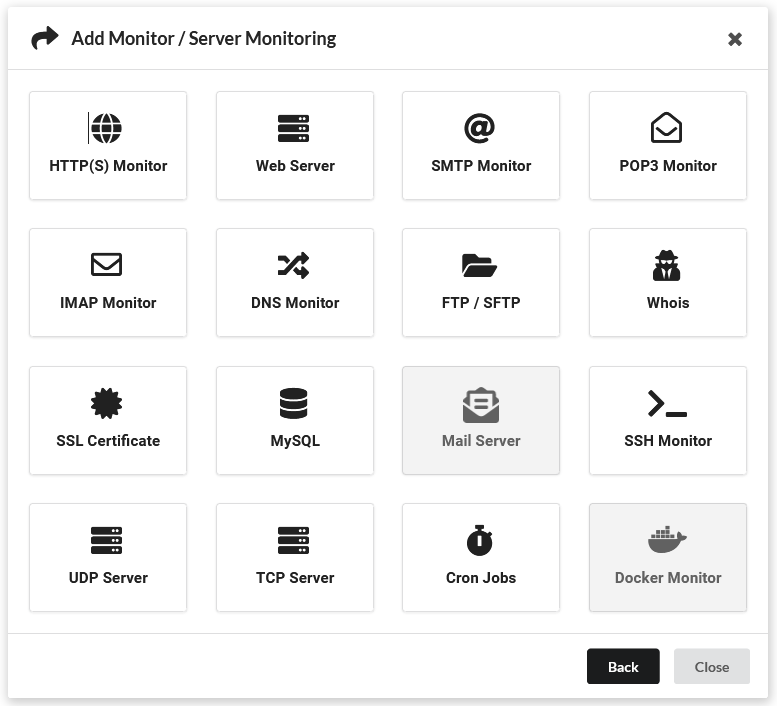
Having chosen a monitor category, proceed to select a specific monitor type within that category. For instance, if you selected “Website Monitoring” in step 5, you might now choose from options like Ping Monitor, HTTP Monitor, SSL Certificate Monitor, etc.
Enter the configuration section of the wizard, where you can set up parameters for the chosen monitor type. Provide details such as the target URL, monitoring frequency, and any additional settings specific to the selected monitor.
Follow the prompts to finalize the monitor setup. Confirm the settings and any additional preferences you may have, then proceed to save or activate the new monitor.
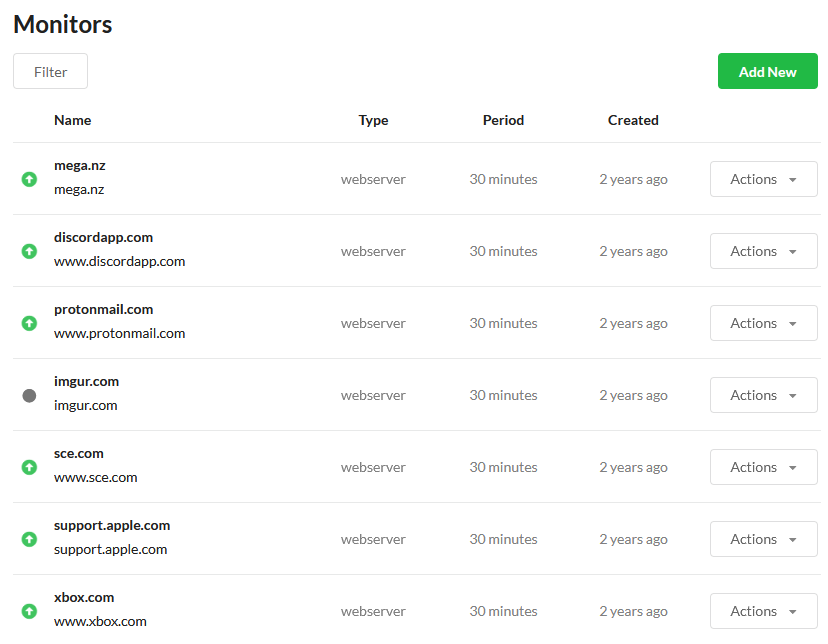
Welcome to the Monitors Management section, your control center for overseeing and optimizing your monitoring setup on Upzilla. Here, efficiency meets precision, providing you with the tools needed to effortlessly manage your monitors.
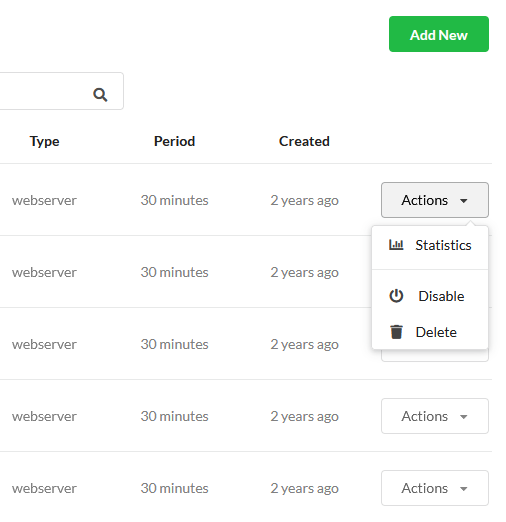
Quickly review all your monitors in a neatly organized list. Each monitor is displayed with essential information, including name, type, monitoring period, and creation date, allowing you to gain insights at a glance.
Navigate swiftly through your monitors with dedicated fast-action buttons. Access detailed statistics, enable or disable monitors, and efficiently remove monitors you no longer need, all with just a click.
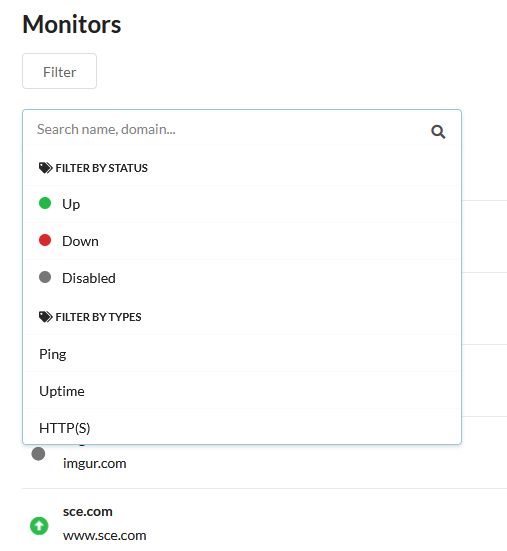
Streamline your view using smart filters. Categorize monitors by status – whether they’re up, down, or disabled. Refine your search further by filtering monitors based on their type, providing a focused view tailored to your monitoring requirements.
Locate specific monitors in an instant by utilizing our robust search functionality. Whether it’s a monitor name or type you’re looking for, the search feature ensures you find what you need promptly, saving you time and effort.
Efficiently manage your monitors, explore their details, and take swift actions with the Monitors Management section. Upzilla puts you in control, making monitoring setup and optimization an intuitive and seamless experience.